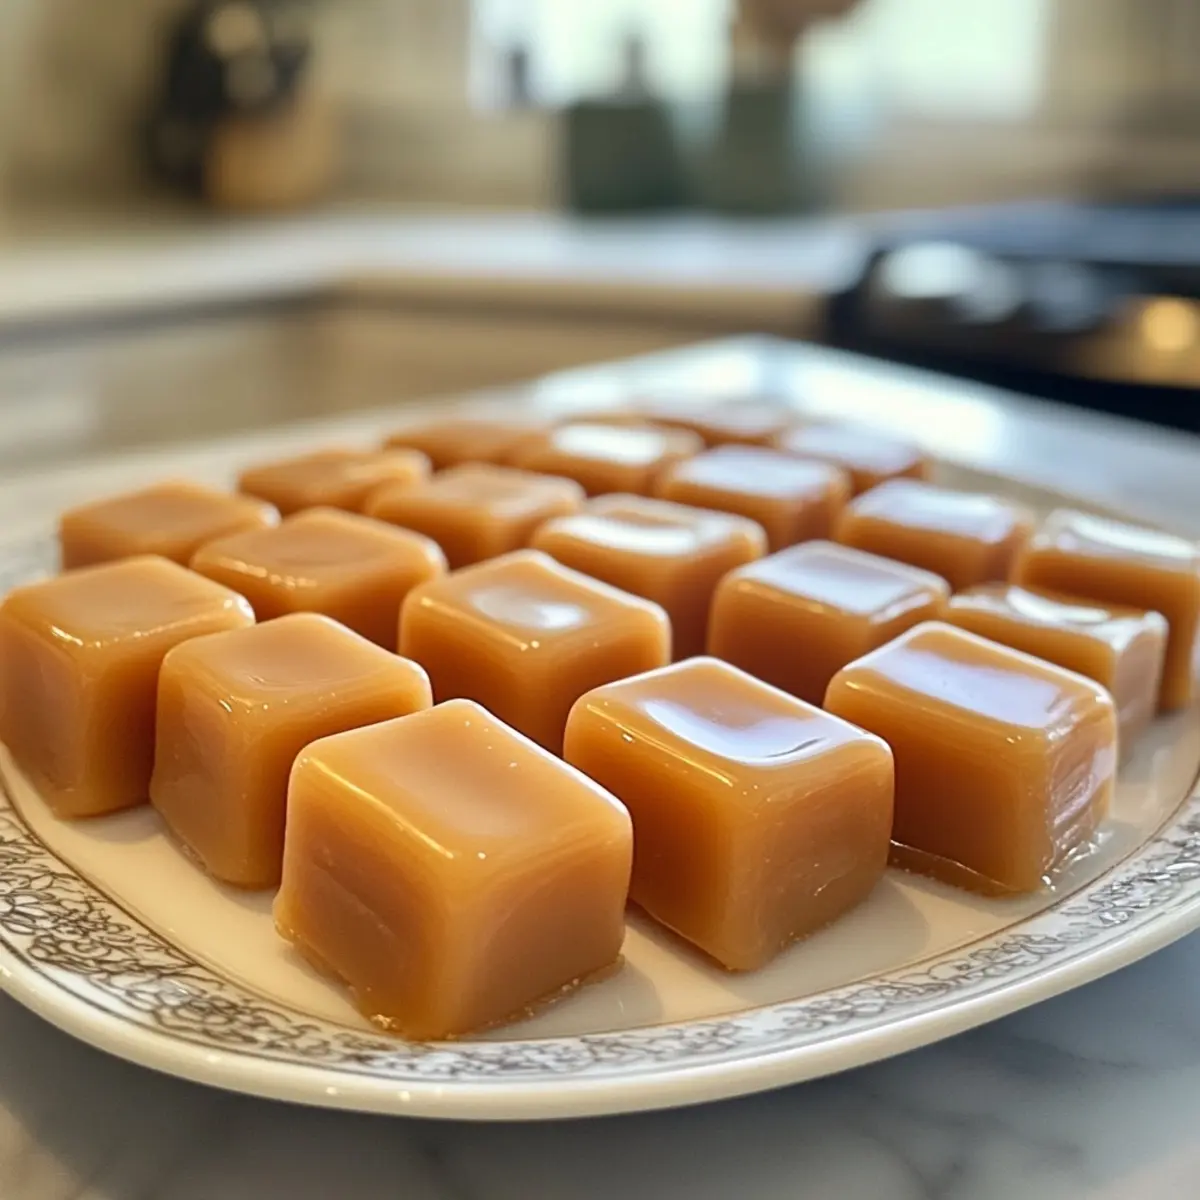
There’s something irresistible about the combination of buttery caramel and velvety vanilla cream. As I set out to create a cozy atmosphere in my kitchen one chilly afternoon, the thought of making my own Vanilla Cream Caramels ignited a spark of nostalgia. These treats, with their melt-in-your-mouth texture, remind me of childhood ventures to the local candy shop, where each piece was a precious gem to savor.
Making caramels at home may sound daunting, but trust me: it’s surprisingly straightforward! With just a few simple ingredients, you can craft these delightful candies that will impress friends and family alike. The joy of seeing their faces light up as they taste these homemade morsels is truly priceless.
Whether you’re looking to elevate your dessert game or surprise someone with a heartfelt gift, this Vanilla Cream Caramel recipe is the perfect solution. So, let’s dive into this step-by-step journey of sweet creation that promises to fill your home with warmth, love, and delightful scents!
Why Love This Vanilla Cream Caramels Recipe?
Irresistible combination: Buttery caramel meets velvety vanilla cream for a nostalgic treat that will transport you back in time.
Surprisingly simple: You don’t need a culinary degree; this recipe is designed for everyone, from beginners to seasoned chefs.
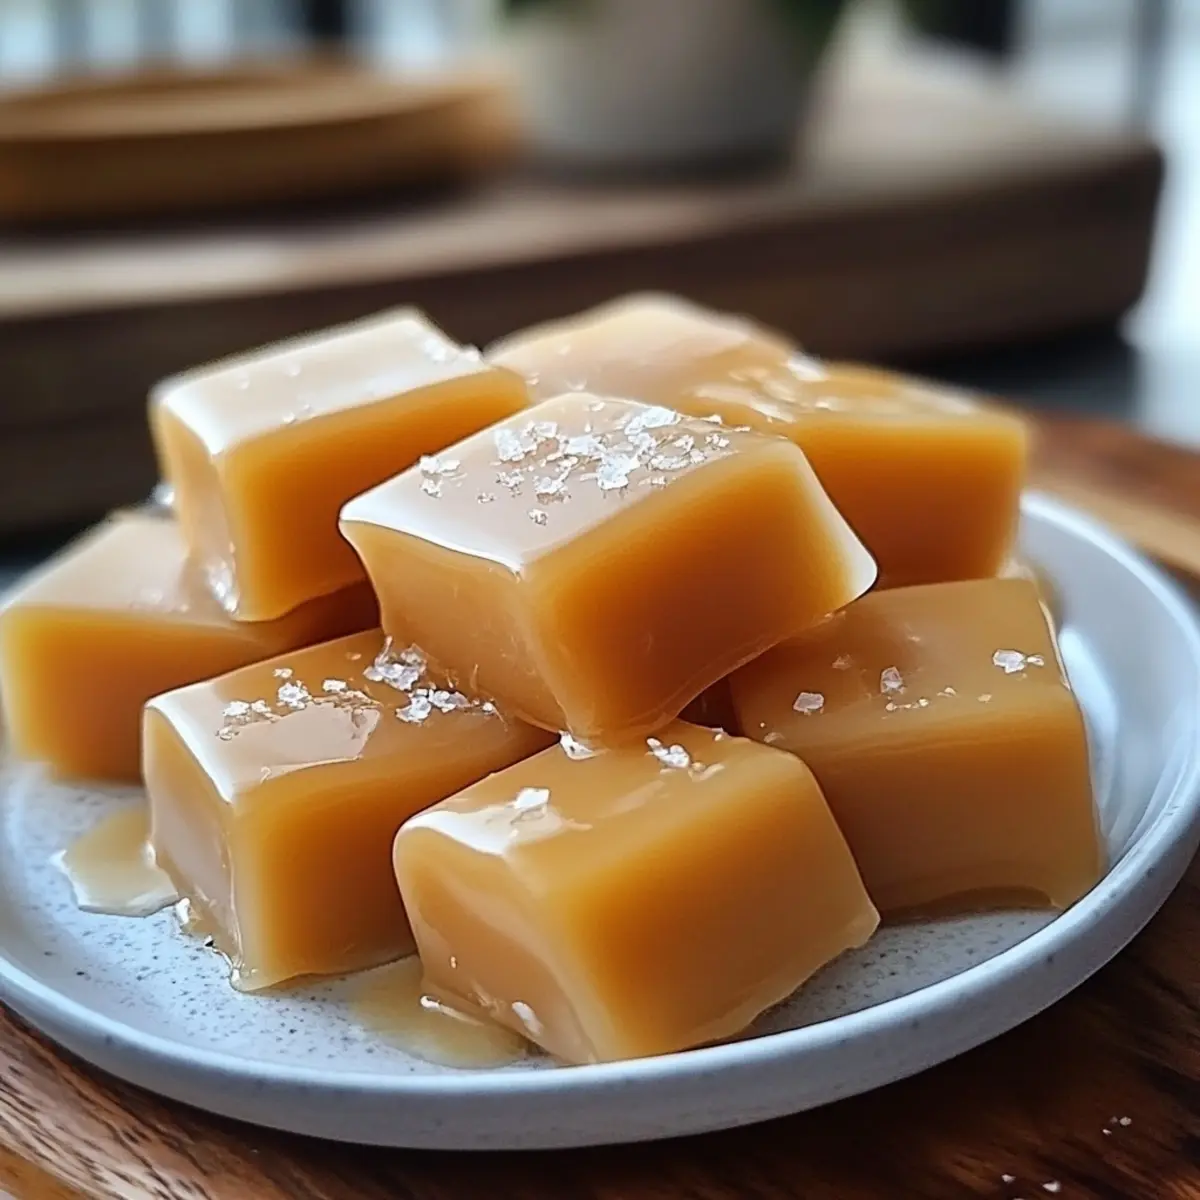
Customization options: Sprinkle flaky sea salt or add toasted nuts to make each batch uniquely yours!
Perfect for gifting: Wrap these delightful candies in pretty paper for a heartfelt homemade gift that’s bound to impress.
Crowd-pleaser: Share them at gatherings, paired with coffee or milk, and watch them disappear in no time!
Make-ahead friendly: Prepare them days in advance and store easily, ensuring a sweet surprise is always on hand!
Vanilla Cream Caramels Ingredients
For the Caramel
• Granulated Sugar – This sweet element provides structure to the caramel.
• Light Corn Syrup – Prevents crystallization, ensuring a silky smooth texture.
• Unsalted Butter – Adds that rich creaminess that makes caramel irresistible.
• Salt – Balances the sweetness and enhances overall flavor.
• Evaporated Milk – Essential for a luscious, thick caramel; avoid regular milk for the best results.
• Vanilla Extract – Infuses the caramel with a warm, inviting aroma.
For the Cream Filling
• Vegetable Shortening – Creates a smooth and stable texture for the filling.
• Powdered Sugar – This sweetener builds the body of the creamy center.
• Corn Syrup (for filling) – Adds sweetness and stability to the cream.
With these ingredients ready, you’re well on your way to creating your own delightful Vanilla Cream Caramels recipe that will surely impress!
How to Make Vanilla Cream Caramels
- Prepare your pan: Start by getting a 10×15 inch jelly roll pan ready. Line it with parchment paper and give it a light grease to prevent sticking.
- Combine ingredients: In a heavy-bottomed pot, mix granulated sugar, light corn syrup, unsalted butter, and salt. Stir this mixture over medium heat until it begins to boil gently, releasing a sweet aroma.
- Add evaporated milk: Gradually mix in evaporated milk, adding about one tablespoon every 30 seconds. Keep stirring constantly for about 10-15 minutes until everything is well blended and smooth.
- Heat to temperature: Using a candy thermometer, carefully heat the mixture to 240-242°F. Stir continuously during this process to prevent any burning, watching for that lovely golden color.
- Pour into the pan: Once at temperature, remove the pot from the heat. Stir in the vanilla extract, then pour the mixture into your prepared pan, spreading it evenly. Allow it to cool completely.
- Make the filling: For the filling, beat vegetable shortening until it’s smooth and creamy. Gradually add powdered sugar, corn syrup, and vanilla extract, mixing until you achieve a luscious texture.
- Assemble the caramels: Once the caramel has fully set, cut it into four sections. Carefully spread the cream filling over each piece, then roll it tightly and cut into half-inch squares.
- Wrap for freshness: Finally, wrap each piece of caramel in waxed or cellophane paper to keep them fresh and ready to indulge!
Optional: For a special touch, sprinkle flaky sea salt on top before wrapping.
Exact quantities are listed in the recipe card below.

Make Ahead Options
These Vanilla Cream Caramels are perfect for meal prep, allowing you to enjoy a sweet treat without the last-minute rush! You can prepare the caramel base up to 24 hours in advance; simply let it cool completely, wrap it tightly in plastic wrap, and store it at room temperature. The creamy filling can also be made ahead and refrigerated for up to 3 days. Just remember to bring it to room temperature before spreading it on the cooled caramel. When you’re ready to enjoy, simply roll and cut the caramels as instructed. By prepping these components ahead of time, you ensure that your homemade Vanilla Cream Caramels are just as delicious and convenient to serve!
How to Store and Freeze Vanilla Cream Caramels
Room Temperature: Store wrapped vanilla cream caramels in an airtight container at room temperature for up to 3 weeks to maintain their delightful softness and freshness.
Fridge: If you prefer a firmer texture, you can store the caramels in the fridge. Just ensure they are wrapped tightly to prevent them from absorbing odors, and enjoy within 4 weeks.
Freezer: For longer storage, wrap the caramels individually in waxed paper and place them in a freezer-safe container. They can be frozen for up to 3 months while retaining their melt-in-your-mouth goodness.
Reheating: If your caramels become too firm, simply let them sit at room temperature for about 30 minutes to soften before enjoying.
Expert Tips for Vanilla Cream Caramels
• Temperature Control: Maintain the right temperature while cooking; it’s crucial for achieving the perfect texture in your caramel.
• Sharp Knife: Use a sharp knife warmed under hot water and wiped dry for clean cuts, ensuring beautiful presentation for your vanilla cream caramels.
• Softening Caramels: If your caramels harden more than desired, let them sit at room temperature out of their wrapping to soften easily.
• Prepare Ahead: Make the vanilla cream filling a day in advance and store it in the refrigerator. Bring to room temperature before assembly for a smooth experience.
• Watch for Crystallization: Stir consistently while cooking to prevent any sugar crystals from forming; this helps keep your caramel wonderfully smooth.
Variations & Substitutions for Vanilla Cream Caramels
Feel free to get creative and add a personal touch to your caramels with these delightful variations!
- Nutty Delight: Incorporate finely chopped nuts into the caramel for a delightful crunch and nutty flavor.
- Flavor Twist: Swap the vanilla extract for almond or hazelnut extract to surprise your taste buds with a new twist.
- Sea Salt Caramels: Sprinkle a touch of flaky sea salt on top before the caramels set for a sweet and salty flavor explosion.
- Coconut Cream: Use coconut cream in the filling for a tropical twist that pairs perfectly with the caramel.
- Spiced Caramels: Add a pinch of cinnamon or cardamom to the caramel mixture for a warm, spiced flavor that’s perfect for fall.
- Fruit Infusion: Blend in pureed freeze-dried fruit to the cream filling for a vibrant and fruity surprise in every bite. The balance of cream and fruit creates a delightful experience.
- Chocolate Drizzle: Top the finished caramels with a drizzle of melted chocolate for an extra layer of indulgence.
- Mexican Hot Chocolate: Introduce a hint of chili powder or cayenne to the caramel for a spicy kick, echoing the flavors of traditional Mexican hot chocolate. This unexpected heat can make your sweets truly memorable!
What to Serve with Vanilla Cream Caramels?
Pairing Vanilla Cream Caramels with the right accompaniments can elevate your enjoyment of these delightful treats.
- Steamy Coffee: The rich, bold flavor of coffee perfectly contrasts the sweetness of the caramels, creating a well-rounded indulgence.
- Chilled Milk: A tall glass of cold milk is a classic pairing that enhances the creamy texture of the caramels. It’s a smooth, comforting match!
- Decadent Hot Chocolate: Serve with a cup of hot chocolate topped with whipped cream for the ultimate dessert experience. The chocolate richness complements the caramels beautifully.
- Flavored Tea: Herbal or chai tea brings a warm spiced note that harmonizes nicely with the caramel, balancing flavor and offering a soothing sip.
- Fresh Berries: A bowl of ripe strawberries or sweet raspberries adds a burst of freshness, cutting through the sweetness of the caramels.
- Homemade Brownies: Pair these caramels with fudgy brownies for a double chocolate treat! They offer a delightful texture contrast and a rich flavor experience.
- Cheese Platter: A selection of creamy cheeses, like brie or goat cheese, brings a savory element to the mix, enhancing the palate with a sophisticated touch.
- Chocolate Dipped Pretzels: For those who enjoy sweet and salty combinations, chocolate-dipped pretzels add a fun crunch and elevate the dessert experience.
Vanilla Cream Caramels Recipe FAQs
How do I choose the right ingredients for my Vanilla Cream Caramels?
Absolutely! For the best results, ensure your granulated sugar is fine and free from clumps. Using light corn syrup is crucial as it helps prevent crystallization in your caramel. Opt for unsalted butter to control the saltiness, which enhances the overall flavor. When selecting evaporated milk, make sure it’s not expired, as freshness contributes significantly to the creamy texture.
How should I store my Vanilla Cream Caramels?
You can keep your wrapped Vanilla Cream Caramels in an airtight container at room temperature for up to 3 weeks. If you prefer a firmer texture, the fridge is a great option, just remember to wrap them well to prevent any unwanted odors – they’ll last for about 4 weeks that way!
Can I freeze my caramels?
Very! To freeze your Vanilla Cream Caramels, wrap each piece tightly in waxed paper to maintain freshness, then place them in a freezer-safe container. They’ll keep well for up to 3 months. When you’re ready to enjoy them, let them thaw at room temperature for about 30 minutes to regain that delightful melt-in-your-mouth texture.
What should I do if my caramel is too hard?
If your caramels turn out too hard, no need to worry! You can simply allow them to sit at room temperature, unwrapped, for about 30 minutes to soften slightly. If they remain too tough, try cutting them into smaller pieces; this way, they’ll be easier to chew and enjoy.
Are these caramels safe for people with allergies?
Always a good question! These Vanilla Cream Caramels contain dairy and could pose a risk for those with lactose intolerance or dairy allergies. If you want to make a dairy-free variation, consider using coconut milk instead of evaporated milk and plant-based butter for a wonderful spin on this classic treat.
What if my caramel crystallizes while cooking?
If you notice sugar crystals forming, don’t fret! The trick is to keep stirring while cooking to incorporate those pesky crystals back into the mixture. If it gets too sticky, add a bit of water and gently return it to heat, stirring until it’s smooth again. This will help save your batch and ensure that your caramels turn out perfectly silky and creamy.
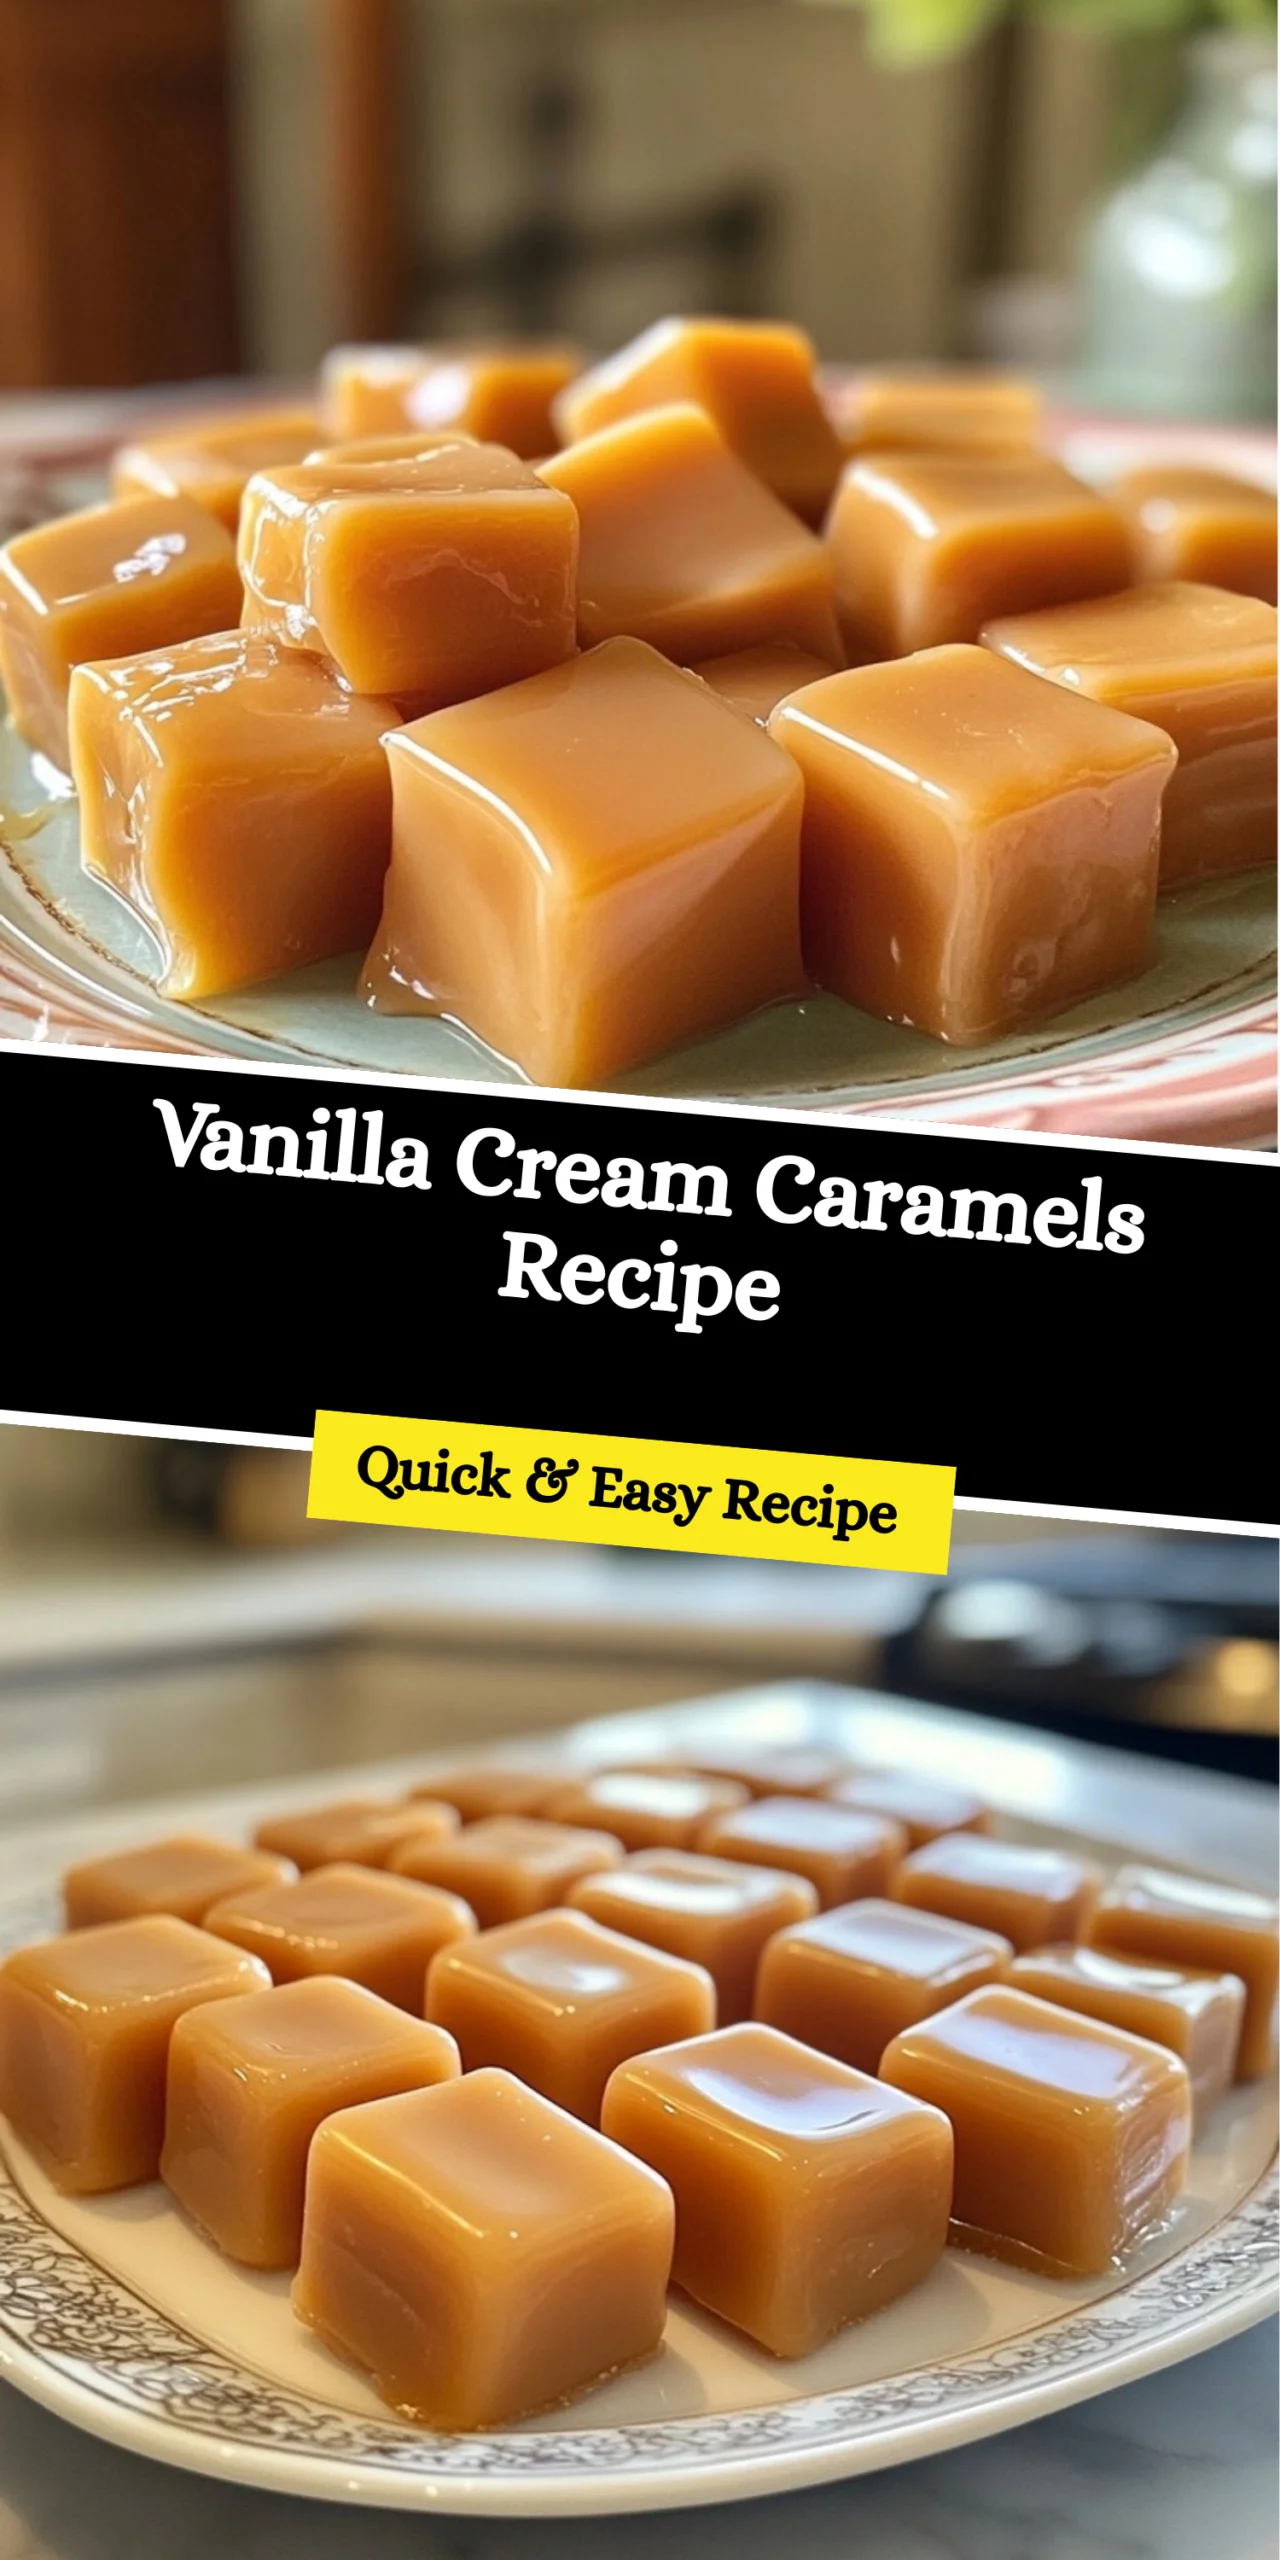
Indulgent Vanilla Cream Caramels Recipe That Melt Your Heart
Equipment
- Heavy-bottomed pot
- Candy thermometer
- 10x15 inch jelly roll pan
- Parchment Paper
- Mixer
- Sharp knife
Ingredients
For the Caramel
- 2 cups Granulated Sugar Provides structure to the caramel.
- 1/2 cup Light Corn Syrup Prevents crystallization.
- 1/2 cup Unsalted Butter Adds creaminess.
- 1 teaspoon Salt Balances sweetness.
- 1 cup Evaporated Milk Essential for a thick caramel.
- 1 teaspoon Vanilla Extract Infuses flavor.
For the Cream Filling
- 1/2 cup Vegetable Shortening Creates a smooth texture.
- 2 cups Powdered Sugar Builds the filling body.
- 1/4 cup Corn Syrup Adds sweetness and stability.
Instructions
Caramel Preparation
- Prepare your pan: Start by getting a 10x15 inch jelly roll pan ready. Line it with parchment paper and give it a light grease to prevent sticking.
- Combine ingredients: In a heavy-bottomed pot, mix granulated sugar, light corn syrup, unsalted butter, and salt. Stir this mixture over medium heat until it begins to boil gently.
- Add evaporated milk: Gradually mix in evaporated milk, adding about one tablespoon every 30 seconds.
- Heat to temperature: Using a candy thermometer, heat the mixture to 240-242°F, stirring continuously.
- Pour into the pan: Remove the pot from heat, stir in vanilla extract, and pour the mixture into your prepared pan. Allow it to cool completely.
Filling and Assembly
- Make the filling: Beat vegetable shortening until smooth, then gradually add powdered sugar, corn syrup, and vanilla extract.
- Assemble the caramels: Cut the caramel into sections, spread cream filling over each piece, roll tightly, and cut into half-inch squares.
- Wrap for freshness: Wrap each piece in waxed or cellophane paper to keep them fresh.
Notes
Nutrition


Leave a Comment