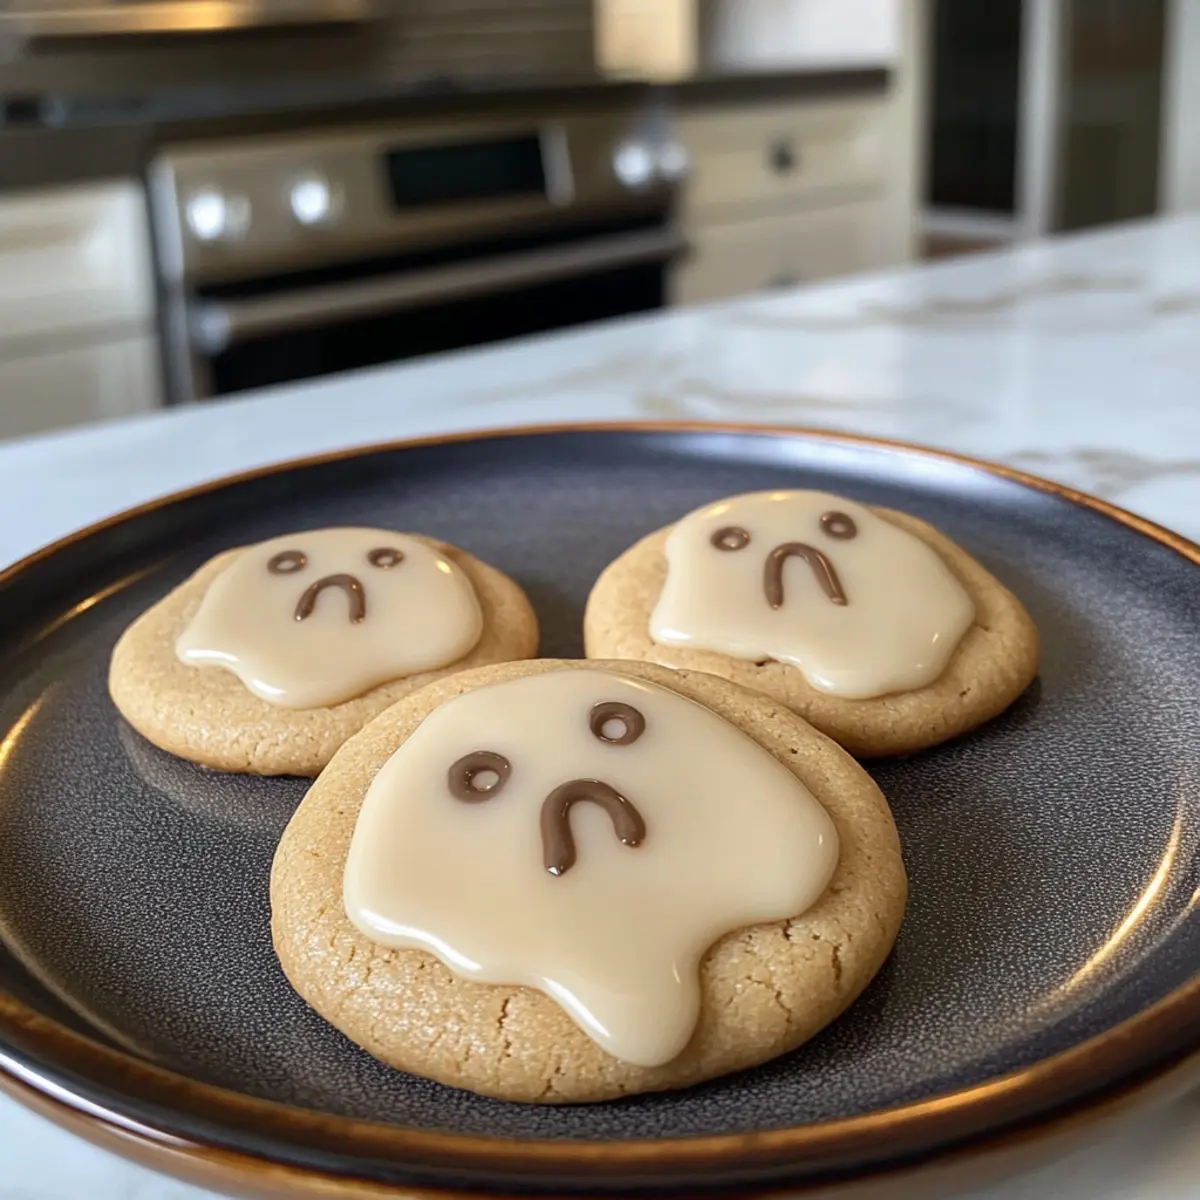
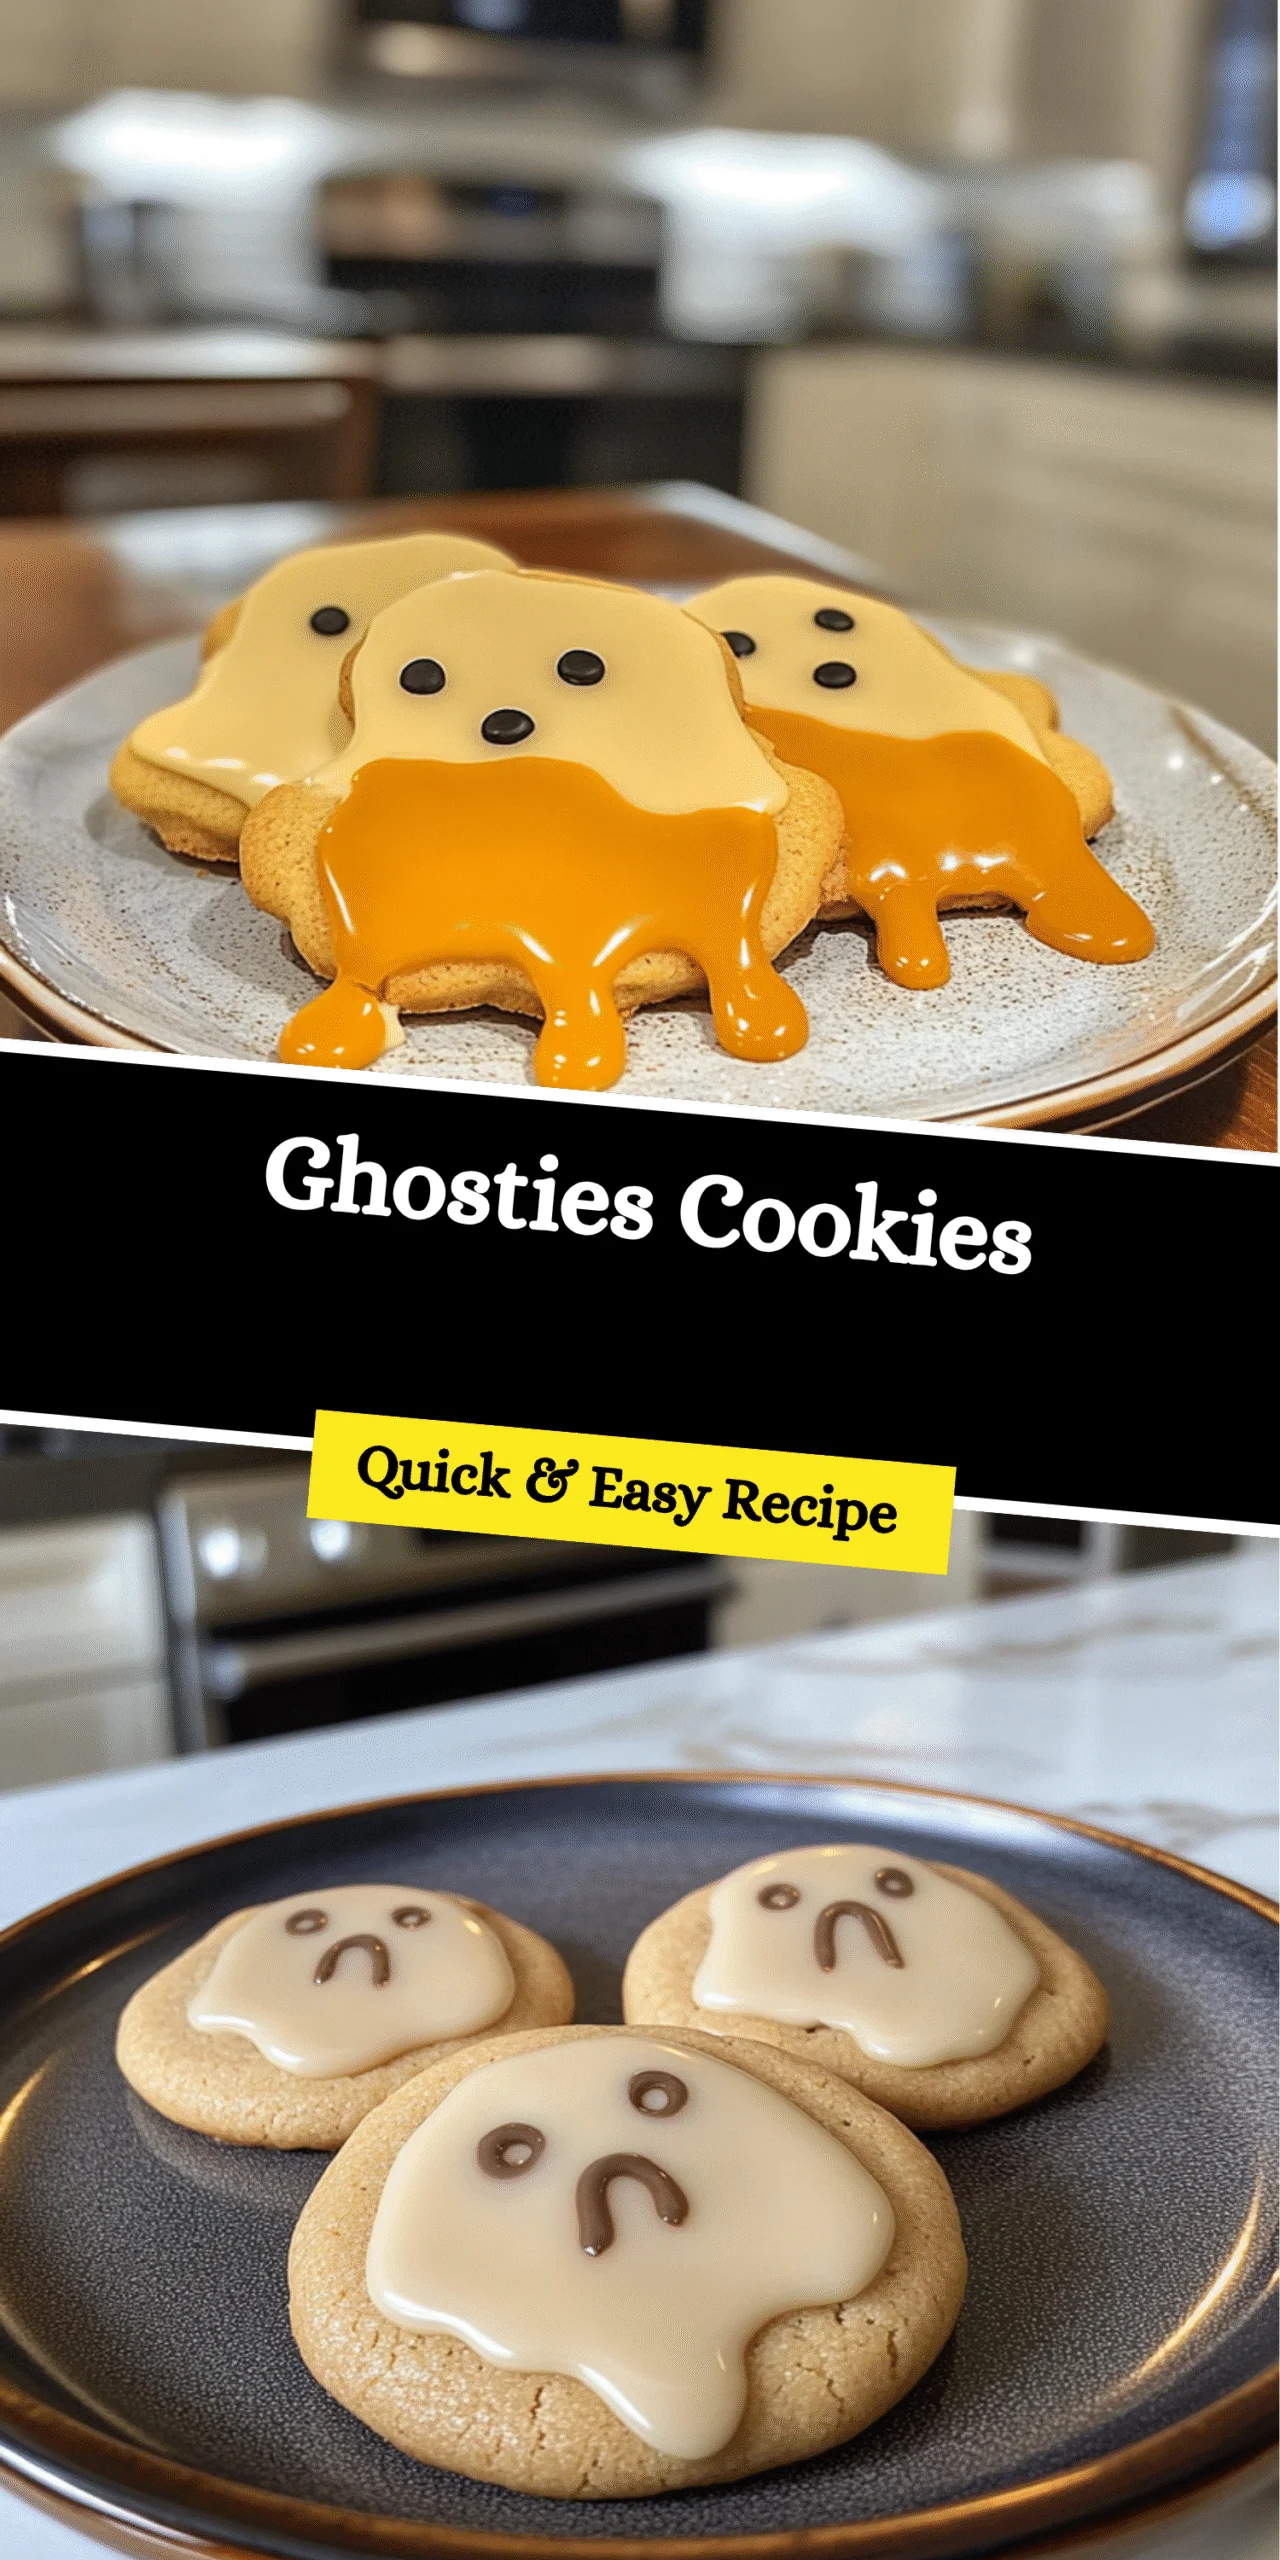
As the crisp autumn air sets in and Halloween approaches, the excitement of decorating and baking begins to swirl in my kitchen. The moment I pulled a batch of Ghosties Cookies from the oven, the playful scent of vanilla and butter whirled through my home, inviting my family to gather ’round. These delightful treats, adorned with adorable ghostly faces, quickly became our go-to for festive fun.
What I love most about these cookies is not just their whimsical appearance; they’re soft, chewy, and incredibly easy to whip up, making them perfect for sharing with friends and family. Whether it’s a cozy night in or a spirited Halloween gathering, these cookies steal the show! Plus, with simple variations to make them gluten-free, everyone can join in on the spooky fun. Ready to bring a little magic to your Halloween? Let’s bake some Ghosties Cookies!
Why are Ghosties Cookies the ultimate Halloween treat?
Deliciously soft and chewy, these cookies capture the essence of Halloween with their adorable ghostly designs. Perfect for family bonding, they transform baking into a fun activity. Kid-friendly and versatile, adapting them for gluten-free diets allows everyone to indulge. Quick to prepare, they’ll save you time while impressing guests at your spooky gatherings. These treats are not just cookies; they’re an invitation to create cherished family memories!
Ghosties Cookies Ingredients
Discover the simple delights that make up these magical Ghosties Cookies!
For the Cookies
- All-purpose flour – Provides structure for the cookies; switch to a gluten-free flour blend for a gluten-free option.
- Baking powder – A leavening agent that helps the cookies rise, ensuring they stay soft.
- Salt – Enhances sweetness and balances flavors for a delicious bite.
- Unsalted butter – Contributes to the rich, creamy texture; feel free to use salted butter if unavailable, adjusting the added salt.
- Granulated sugar – Adds sweetness which helps create that desirable chewy texture.
- Brown sugar – Brings moisture and a deeper flavor profile; definitely keep it for the best results.
- Large eggs – Binds the ingredients together for a tender, lovely crumb.
- Vanilla extract – A flavorful touch; can be swapped with almond extract for a delightful twist.
For the Decoration
- Vanilla frosting – Used for adorning the cookies; store-bought for convenience or homemade for a personal touch works perfectly.
- Mini chocolate chips – Serve as ghostly eyes, adding a fun, spooky appearance to the cookies.
How to Make Ghosties Cookies
- Preheat Oven: Set your oven to 350°F (175°C) and line two baking sheets with parchment paper for easy cleanup. This step ensures your cookies bake evenly and don’t stick to the pan.
- Prepare Dry Ingredients: In a medium bowl, whisk together the flour, baking powder, and salt until well combined. This helps to evenly distribute the baking powder, ensuring every bite rises perfectly.
- Cream Butter and Sugars: In a large bowl, beat softened butter with granulated and brown sugar until light and fluffy, about 2-3 minutes. This creates an airy base that makes your cookies soft and chewy!
- Combine Ingredients: Gradually add in the eggs one at a time, mixing well after each addition. Slowly incorporate the dry ingredients until just combined, ensuring not to overmix the dough for a tender cookie.
- Shape Dough: Scoop tablespoon-sized portions of dough onto the prepared baking sheets, spacing them two inches apart. This gives the cookies room to spread while baking, so they don’t touch!
- Bake: Bake for 10-12 minutes until the edges are lightly golden and the centers are still soft. Allow them to cool for a few minutes on the sheets before transferring to a wire rack to finish cooling.
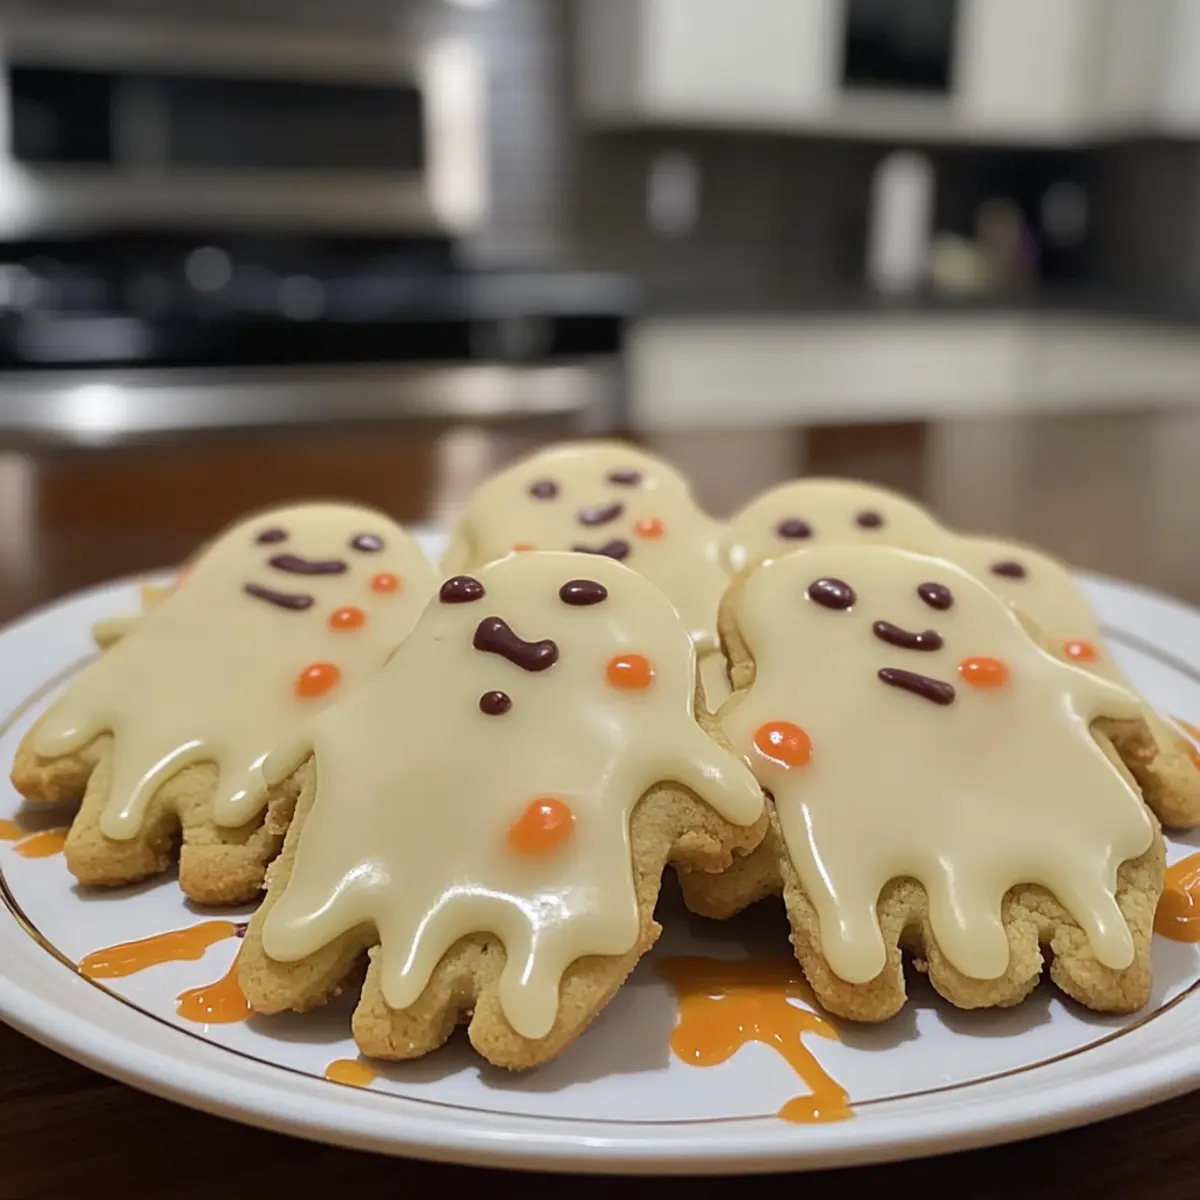
- Decorate: Once cooled, use vanilla frosting to pipe adorable ghost faces on each cookie. Place two mini chocolate chips as eyes to complete the ghostly look!
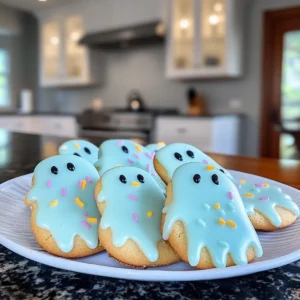
Optional: Consider adding colorful sprinkles for an extra pop of fun!
Exact quantities are listed in the recipe card below.

What to Serve with Ghosties Cookies?
Add some festive flair to your Halloween gathering with an array of delightful accompaniments that elevate your Ghosties Cookies to a spooktacular spread!
- Chilled Apple Cider: The sweetness of crisp apple cider complements the chewy cookies and adds a classic touch to your Halloween festivities.
- Pumpkin Spice Latte: This warming drink brings out the autumnal flavors, creating a cozy pairing that will be a hit with your guests.
- Chocolate Dipped Pretzels: These add a delightful salty crunch, contrasting beautifully with the sweetness of your cookies and enhancing the overall experience. Enjoy them together for a flavor explosion!
- Mini Caramel Apples: A playful, festive treat that mirrors the whimsy of Ghosties Cookies; their chewy and crunchy textures create an exciting combination.
- Ghostly Marshmallow Pops: These adorable treats echo the ghostly theme and provide a fun, interactive element for the kids, making Halloween unforgettable!
- Spooky Fruit Platter: Combine seasonal fruits like pears and pomegranates, and arrange them in ghostly shapes to balance the sweetness while adding freshness to your dessert table.
- Vanilla Ice Cream: A scoop of vanilla ice cream paired with warm cookies creates a dreamy dessert combo just perfect for chilly autumn evenings.
Expert Tips for Ghosties Cookies
- Do Not Overmix: Overmixing the dough can lead to tough cookies. Mix just until combined for that perfect soft texture in your Ghosties Cookies.
- Chill the Dough: If the dough feels too sticky, chill it in the refrigerator for about 30 minutes. This step helps cookies maintain their shape while baking.
- Watch Your Baking Time: Every oven is different! Keep an eye on your cookies toward the end of baking to avoid overcooking.
- Frosting Tip: Allow cookies to cool completely before decorating. This prevents the frosting from melting and gives your ghost faces a spooky charm!
- Gluten-Free Adaptation: When using gluten-free flour, double-check the baking times. Gluten-free cookies may need a little more or less time compared to traditional recipes.
- Try Adding Flavor: Consider mixing in some almond extract for a unique twist on your Ghosties Cookies. This extra touch can elevate the flavor!
How to Store and Freeze Ghosties Cookies
Room Temperature: Store cookies in an airtight container at room temperature for up to 5 days to maintain their soft and chewy texture without drying out.
Freezer: Wrap cookies individually in plastic wrap and place them in a freezer-safe bag. They can be frozen for up to 3 months, allowing you to enjoy Ghosties Cookies whenever the craving strikes!
Thawing: To thaw, simply remove the desired number of cookies from the freezer and let them sit at room temperature for about 30 minutes, or microwave for 10-15 seconds for a quick treat.
Reheating: If you like them warm, pop the cookies in the microwave for a few seconds or use the oven at low heat for a delightful, freshly baked taste!
Ghosties Cookies Variations & Substitutions
Feel free to get creative and tailor these delightful treats to your liking! The playful possibilities will elevate your Halloween baking experience.
- Gluten-Free: Use a gluten-free flour blend to enjoy these cookies without gluten, ensuring all ingredients are gluten-free.
- Almond Extract: Swap vanilla extract for almond extract to add a nutty twist that complements the sweetness beautifully.
- Cocoa Cookies: Add ¼ cup of cocoa powder to the dry ingredients for a delightful chocolatey version that pairs well with the ghostly frosting.
- Spice It Up: Incorporate a pinch of cinnamon or nutmeg into the dough for a warm, cozy flavor that’s perfect for the fall season.
- Different Frosting: Use cream cheese frosting or lemon royal icing for a zesty alternative to the classic vanilla that adds a surprising kick.
- Mix-ins: Stir in some chopped nuts or dried fruit for added texture and flavor, creating a unique touch to these spooky treats.
- Festive Colors: Use colored icing or food gel to create fun Halloween-themed designs and make ghost faces extra festive for parties.
- Reduced Sugar: Cut back on the granulated sugar by ¼ cup for a lighter version without sacrificing that delightful taste and texture.
Let your imagination roam free while creating these Ghosties Cookies; the choices are endless and sure to delight family and friends!
Make Ahead Options
These Ghosties Cookies are perfect for those busy Halloween weeks! You can prepare the cookie dough up to 3 days in advance. Simply mix all the ingredients and form the dough into balls. Place them on a baking sheet and cover tightly with plastic wrap before refrigerating. When you’re ready to bake, just take out the dough balls, let them sit for about 10-15 minutes at room temperature, then bake as directed. For added convenience, you can also freeze the unbaked dough balls for up to 3 months; just thaw in the fridge overnight before baking. This way, you can have fresh, soft cookies whenever you need them, saving time while still creating delightful treats for your Halloween festivities!
Ghosties Cookies Recipe FAQs
How do I choose the right flour for my Ghosties Cookies?
Absolutely! For a delightful treat, all-purpose flour gives these cookies their perfect structure. If you need a gluten-free alternative, opt for a high-quality gluten-free flour blend. Make sure to check that the blend contains xantham gum, which helps mimic the texture of traditional flour!
How should I store my Ghosties Cookies?
Very importantly, store your cookies in an airtight container at room temperature for up to 5 days. This keeps them soft and chewy! If you’d like to ensure they last longer, wrap them individually in plastic wrap and place them in a freezer-safe bag, where they can stay fresh for up to 3 months.
Can I freeze my Ghosties Cookies?
Certainly! To freeze your cookies, wrap each one tightly in plastic wrap and then place them in a freezer-safe bag or container. They can be stored like this for up to 3 months. When you’re ready to enjoy them, just thaw by leaving them at room temperature for about 30 minutes or give them a quick zap in the microwave for 10-15 seconds.
What if my Ghosties Cookies turn out too tough?
Don’t worry! If you find your cookies are more tough than tender, it might be due to overmixing the dough. It’s best to mix the ingredients just until combined. If they’re still too tough after baking, try chilling the dough for 30 minutes before shaping and baking; this can help keep the cookies soft and chewy.
Are Ghosties Cookies suitable for kids with allergies?
When making Ghosties Cookies, it’s important to consider any allergies. Common allergens include eggs and dairy, so feel free to substitute with egg replacements (like flaxseed meal or applesauce) and dairy-free butter alternatives. Always double-check ingredient labels to ensure everything is safe for your little ones!
How can I achieve a perfect ghostly decoration for my cookies?
To ensure those cute little ghost faces shine, let your cookies cool completely before decorating. This prevents the vanilla frosting from melting off. For decorating, use a piping bag for better control when adding the frosting. And don’t forget to press the mini chocolate chips into the frosting as eyes before it sets!
Deliciously Soft Ghosties Cookies Perfect for Halloween Fun
Equipment
- Oven
- Mixing Bowls
- Whisk
- Baking sheets
- Parchment Paper
Ingredients
For the Cookies
- 2 cups All-purpose flour Switch to gluten-free flour for gluten-free option.
- 1 teaspoon Baking powder A leavening agent.
- 1/2 teaspoon Salt Enhances sweetness.
- 1 cup Unsalted butter Can substitute with salted butter.
- 1 cup Granulated sugar
- 1/2 cup Brown sugar Adds moisture.
- 2 large Eggs Binds ingredients together.
- 2 teaspoons Vanilla extract Can swap with almond extract.
For the Decoration
- 1 cup Vanilla frosting Store-bought or homemade.
- 1/2 cup Mini chocolate chips For ghostly eyes.
Instructions
How to Make Ghosties Cookies
- Preheat your oven to 350°F (175°C) and line two baking sheets with parchment paper.
- In a medium bowl, whisk together the flour, baking powder, and salt until well combined.
- In a large bowl, beat softened butter with granulated and brown sugar until light and fluffy, about 2-3 minutes.
- Gradually add in the eggs one at a time, mixing well after each addition. Slowly incorporate the dry ingredients until just combined.
- Scoop tablespoon-sized portions of dough onto prepared baking sheets, spacing them two inches apart.
- Bake for 10-12 minutes until edges are lightly golden and centers are still soft. Allow to cool on sheets.
- Once cooled, use vanilla frosting to pipe adorable ghost faces and place two mini chocolate chips as eyes.
Notes
Nutrition


Leave a Comment