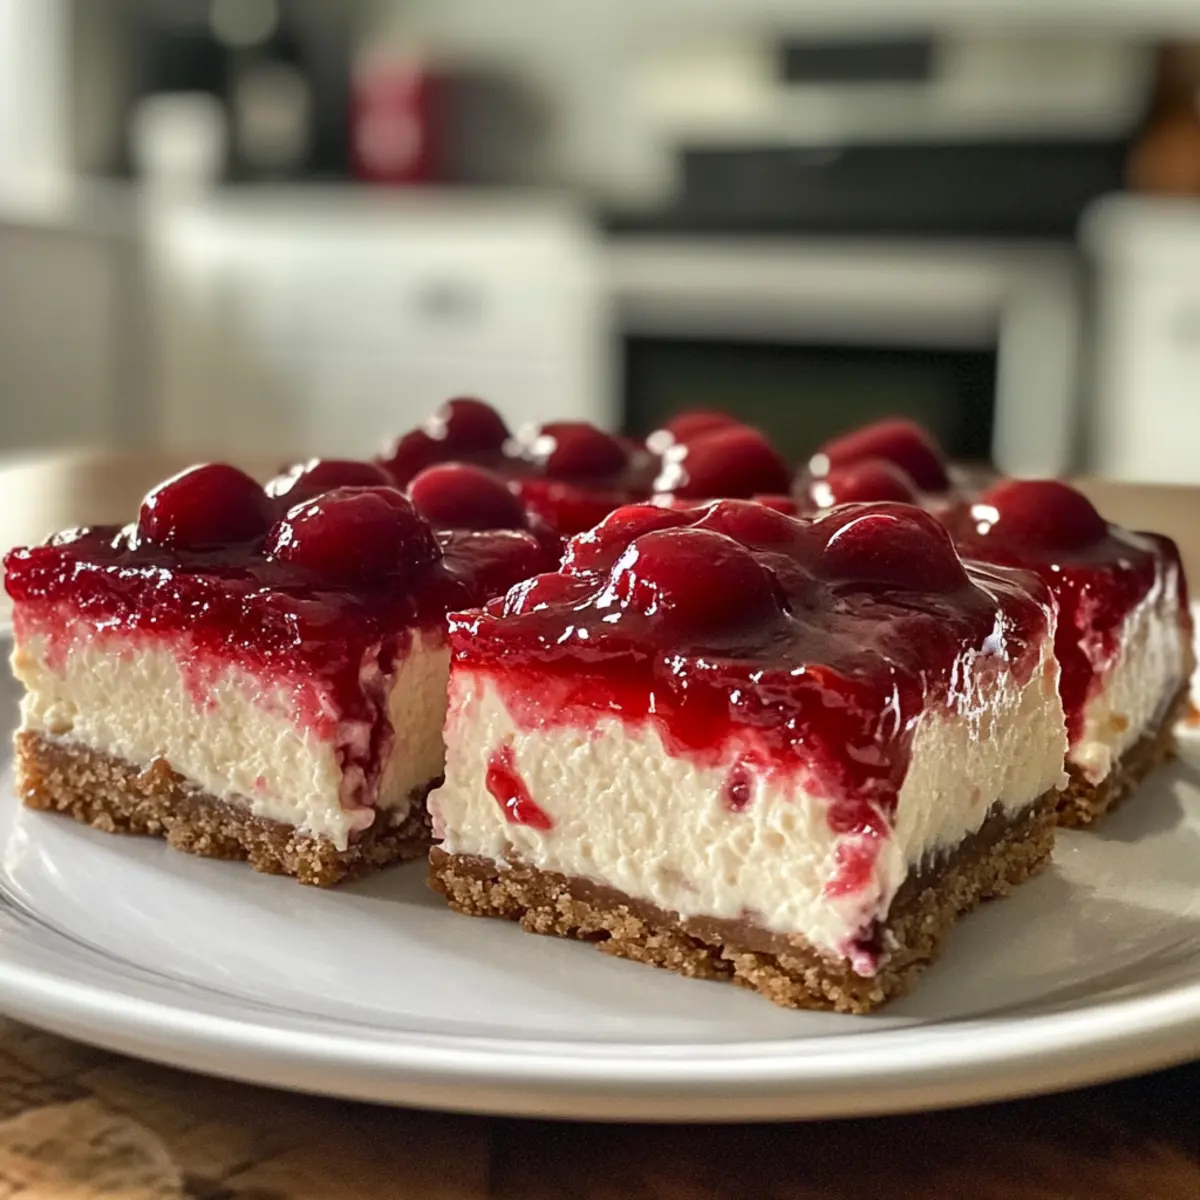
Growing up, dessert was always the highlight of our family gatherings, and there was one treat that stole the spotlight every single time: Cherry Cheesecake Bars. The way the rich, creamy cheesecake danced atop a buttery graham cracker crust, all crowned with a glossy layer of tart cherries—it’s pure joy on a plate. I vividly recall the first time I made them; the eager anticipation as they baked, my kitchen filled with the sweet aroma of vanilla and cherries.
These Easy Cherry Cheesecake Bars are not just delightful; they are incredibly simple to prepare, making them perfect for any occasion. Whether you’re hosting a gathering or just looking to satisfy a sweet craving after a long day, these bars deliver a crowd-pleasing experience with each bite. With the versatility to use fresh or canned cherries, these bars are your go-to dessert for any season. So, grab your apron, and let’s bring a little sweetness into your life!

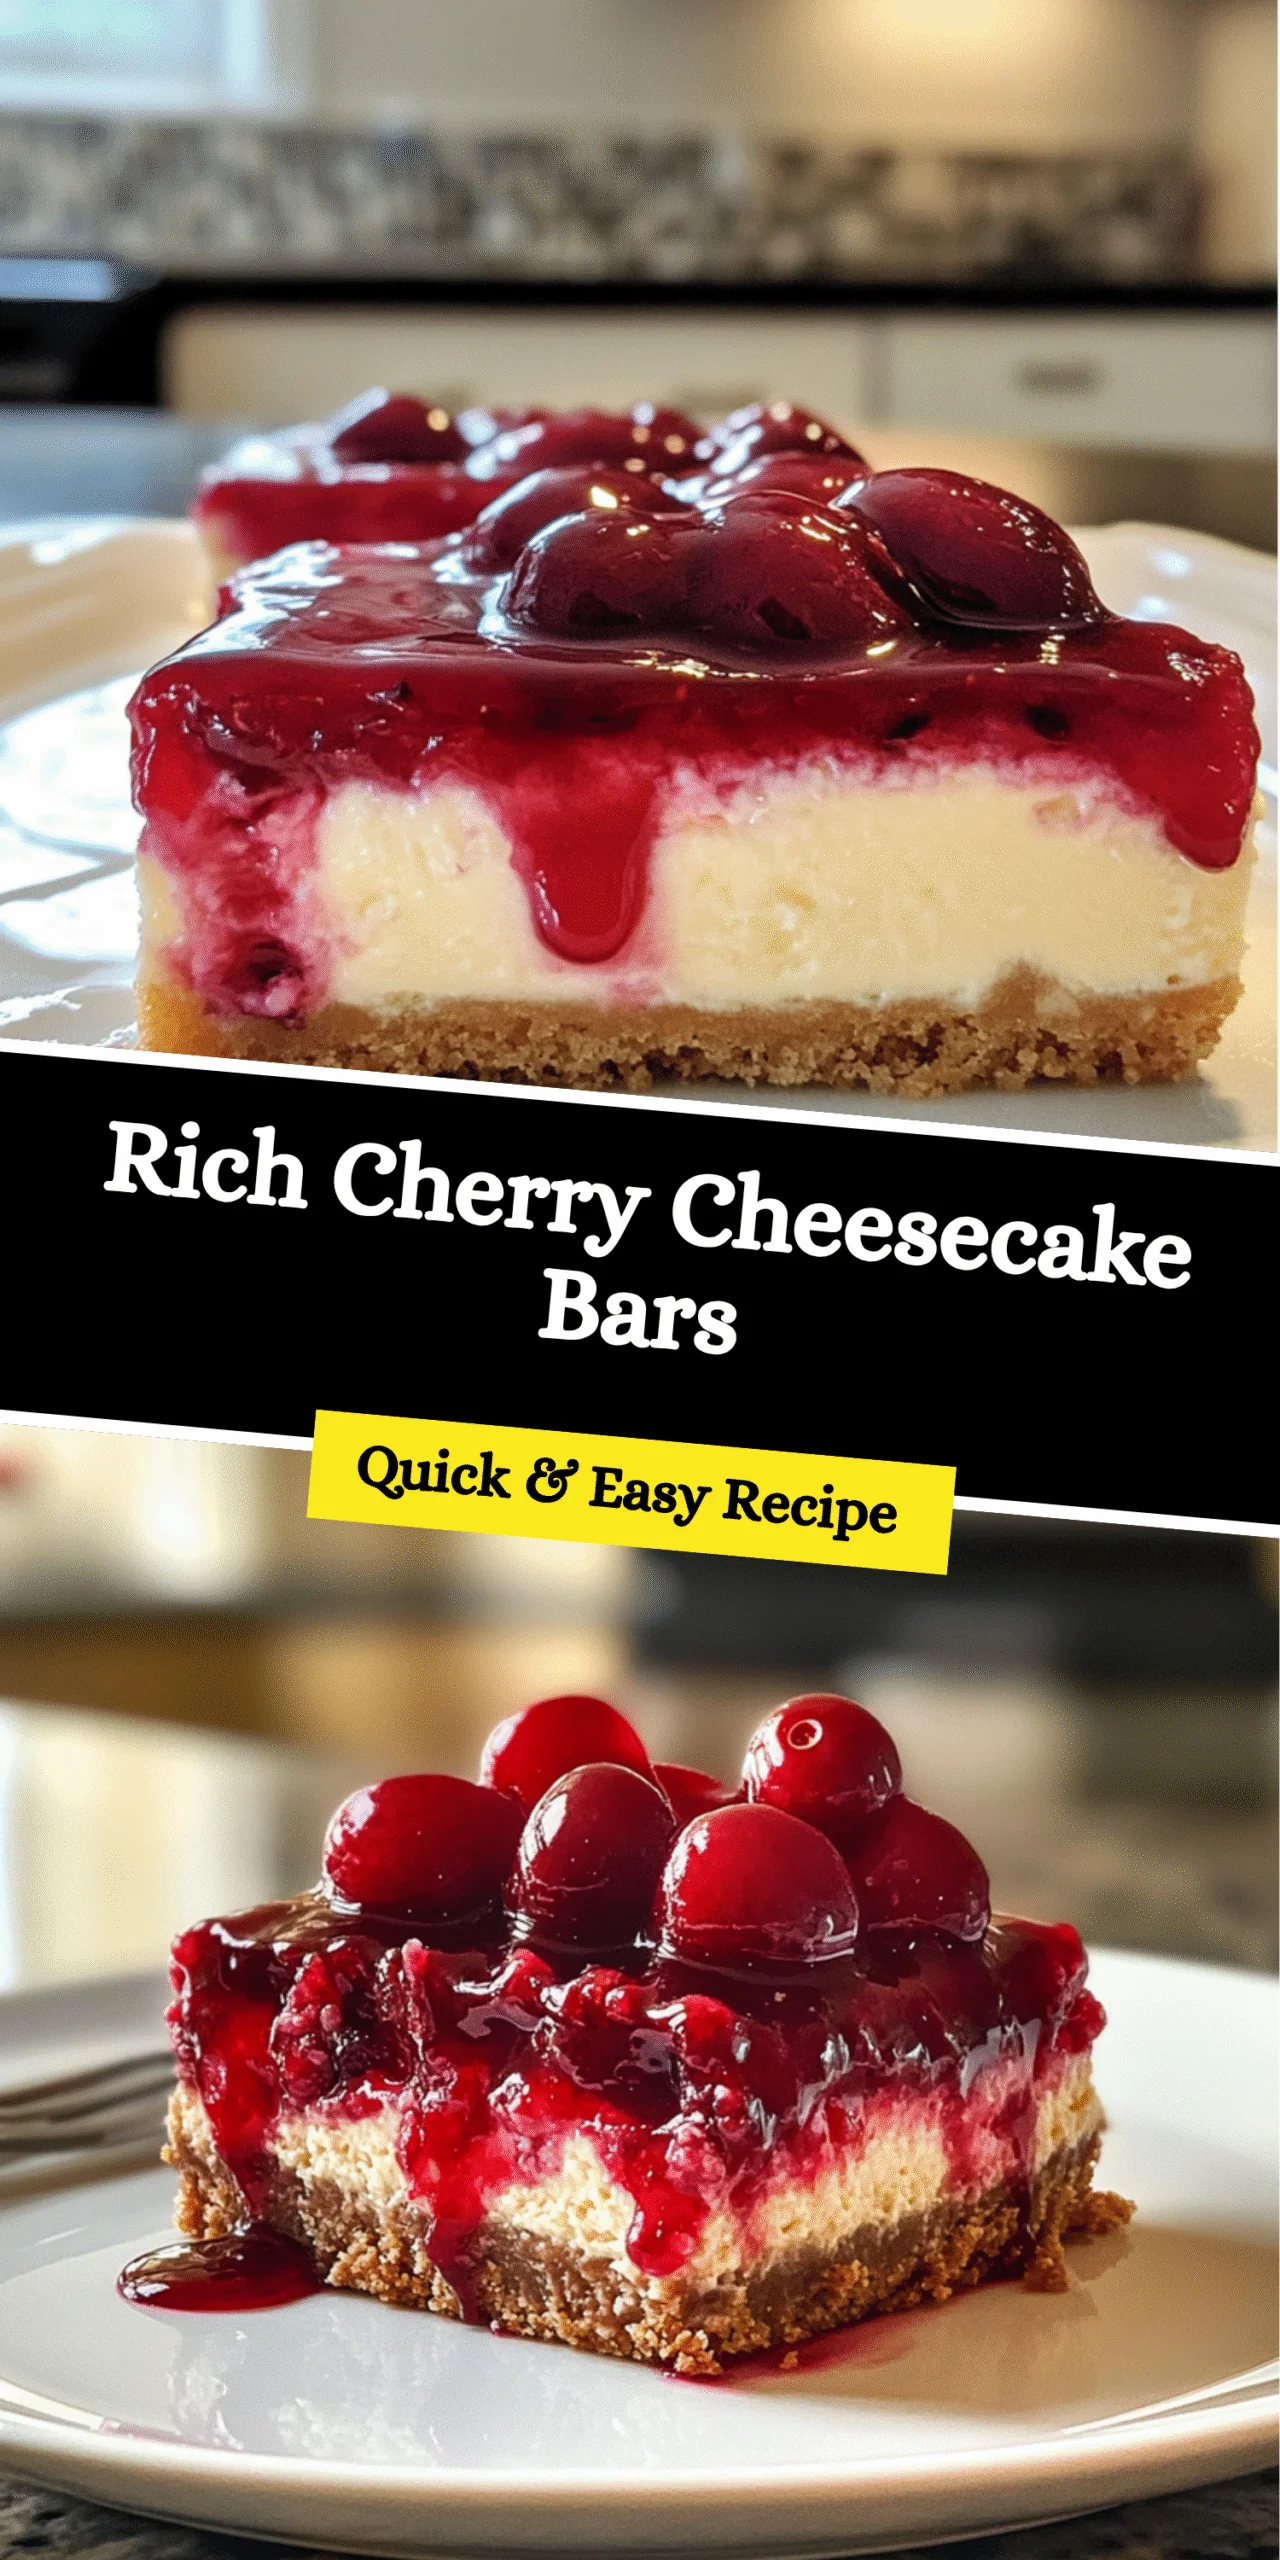
Why You’ll Love Rich Cherry Cheesecake Bars
Simplicity at Its Best: With just a handful of ingredients, these bars are easy to whip up, making them perfect for beginners and seasoned bakers alike.
Irresistible Creamy Texture: The combination of rich cream cheese and tangy sour cream creates a luscious filling that melts in your mouth.
Versatile Cherry Topping: Whether fresh or canned, the sweet-tart cherries add a vibrant color and flavor that will impress your guests.
Perfect for Any Occasion: From potlucks to dinner parties, these bars are always a hit and can be made ahead of time for convenience.
Enjoy a Slice of Nostalgia: Experience the joy of homemade desserts that remind you of family gatherings with each delightful bite. If you’re looking for another tasty treat, try these Mini Pumpkin Cheesecake for a sweet variation!
Rich Cherry Cheesecake Bars Ingredients
For the Crust
• Graham Cracker Crumbs – Creates a deliciously crunchy base for the bars; feel free to substitute with crushed digestive biscuits for a unique twist.
• Granulated Sugar – Sweetens both the crust and filling; consider using brown sugar to add a caramel flair to the crust.
• Unsalted Butter – Binds the crust together and adds richness; coconut oil can be a dairy-free alternative if desired.
For the Filling
• Cream Cheese – The core of the cheesecake filling; ensure it’s softened for a smooth blend, and opt for vegan cream cheese for a plant-based version.
• Sour Cream – Adds a creamy texture and slight tang; substitute with Greek yogurt for a lighter option without sacrificing flavor.
• Vanilla Extract – Enhances the overall flavor of the filling; vanilla bean paste can be used for a deeper, more aromatic experience.
• Large Eggs – Act as a binder for the filling, helping it to set perfectly; for a vegan option, try flaxseed meal mixed with water.
For the Topping
• Cherry Pie Filling – Offers a sweet, vibrant layer on top; you can swap this for fresh cherries, pitted and halved, for a more homemade touch.
These Rich Cherry Cheesecake Bars are an easy and delightful dessert you won’t want to miss!
How to Make Rich Cherry Cheesecake Bars
-
Preheat the oven. Set it to 325°F (160°C) to create the perfect environment for baking your cheesecake bars.
-
Prepare the baking dish. Grease or line a 9×13-inch baking dish with parchment paper for easy removal and cleanup later.
-
Combine crust ingredients. In a bowl, mix the graham cracker crumbs, granulated sugar, and melted butter until everything is well combined.
-
Press the mixture. Firmly press the crust mixture into the bottom of your prepared baking dish to form an even layer; this will give your bars a sturdy base.
-
Bake the crust. Place it in the oven for about 10 minutes, until it’s lightly golden. Let it cool slightly while you prepare the filling.
-
Beat the cream cheese. Use an electric mixer to whip the softened cream cheese until it’s smooth and creamy.
-
Add sugar and vanilla. Incorporate the granulated sugar and vanilla extract, mixing until well combined for a delightful flavor boost.
-
Mix in the eggs. Add the eggs one at a time, mixing thoroughly after each addition; then gently fold in the sour cream until everything is smooth and blended.
-
Pour the filling. Carefully pour the cheesecake mixture over your cooled crust, spreading it evenly to ensure a consistent texture in every bite.
-
Bake the bars. Slide them into the oven for 25-30 minutes, or until the edges are set and the center is just slightly jiggly—a perfect creamy texture.
-
Cool the bars. Allow them to cool at room temperature for 30 minutes, then refrigerate for at least 2 hours to fully set.
-
Top with cherries. Once chilled, spread the cherry pie filling on top, or add fresh cherries if you’re feeling fancy!
-
Slice and serve. Cut the cheesecake into squares or bars, serve chilled, and watch them disappear!
Optional: Drizzle with chocolate sauce for an extra special touch!
Exact quantities are listed in the recipe card below.

Make Ahead Options
These Rich Cherry Cheesecake Bars are a dream come true for meal prep aficionados! You can prepare the crust and cheesecake filling up to 24 hours in advance, simply store them separately in airtight containers in the refrigerator to maintain their freshness. For best results, let the cheesecake base chill for at least 2 hours before adding the cherry topping (whether fresh or canned). When you’re ready to serve, just pour the cherry filling over the chilled cheesecake, slice into bars, and delight in the cozy, homemade taste without the last-minute rush. Trust me, they’ll be just as delicious and inviting!
What to Serve with Rich Cherry Cheesecake Bars?
Looking to complete your dessert spread or elevate a gathering? Here are some delightful pairings that will perfectly complement the creamy, rich taste of these bars.
-
Fresh Berries: A mix of strawberries, blueberries, and raspberries provides a refreshing burst of flavor that balances the sweetness of the cheesecake. Their vibrant colors will brighten up your dessert table too!
-
Whipped Cream: Light and fluffy whipped cream adds a touch of elegance and creaminess that perfectly matches the richness of the cheesecake bars. It’s a classic touch that never disappoints.
-
Coffee or Espresso: A rich cup of coffee or a velvety espresso pairs beautifully with the creamy notes of the cheesecake. The slight bitterness of coffee enhances the overall flavor experience.
-
Chocolate Sauce: Drizzling warm chocolate sauce over each slice takes these bars to another level of indulgence, adding a rich, decadent touch that chocolate lovers will adore.
-
Ice Cream: Vanilla or cherry ice cream creates a delightful contrast in texture and temperature, offering a creamy complement to the cheesecake bars. Enjoy it alongside or on top for a double delights experience!
-
Mint Leaves: Garnishing with fresh mint leaves not only adds a pop of color but its refreshing flavor contrasts beautifully with the sweet-tart cherries, leaving a pleasant aftertaste. Perfect for an elegant touch!
-
Lemonade or Iced Tea: Light and refreshing beverages like homemade lemonade or sweet iced tea will cleanse the palate and make your dessert experience more enjoyable—perfect for summer gatherings!
Bring your dessert game to the next level with these delightful accompaniments for your Rich Cherry Cheesecake Bars!
How to Store and Freeze Rich Cherry Cheesecake Bars
Fridge: Store your cheesecake bars in an airtight container for up to 5 days to keep them fresh and delicious.
Freezer: For longer storage, freeze the bars wrapped tightly in plastic wrap followed by aluminum foil. They can be frozen for up to 2 months without losing flavor.
Thawing: When ready to enjoy, transfer the frozen bars to the fridge and let them thaw overnight before serving.
Reheating: If you’d like them warm, simply pop the chilled bars in the microwave for a few seconds; serve immediately for a creamy treat!
Expert Tips for Rich Cherry Cheesecake Bars
-
Room Temperature Cream Cheese: Ensure your cream cheese is softened to room temperature for a lump-free filling; cold cream cheese will create a bumpy texture.
-
Don’t Overbake: Keep an eye on your bars; the center should remain slightly jiggly to maintain that luscious, creamy texture that makes these Rich Cherry Cheesecake Bars irresistible.
-
Crust Consistency: Press the graham cracker mixture firmly into the baking dish to avoid a crumbly crust; a solid base holds everything together beautifully.
-
Chill Thoroughly: Allow the bars to set in the refrigerator for at least 2 hours. This chilling time enhances the flavors and helps the cheesecake firm up perfectly.
-
Creative Toppings: Experiment with toppings such as fresh berries or a drizzle of chocolate sauce for a unique twist; the versatility of these bars makes them endlessly enjoyable!
Rich Cherry Cheesecake Bars Variations
Feel free to explore these delightful twists that will make your cheesecake bars even more irresistible!
-
Berry Bliss: Swap the cherry topping for a medley of fresh blueberries, raspberries, or strawberries for a colorful fruit explosion on top.
Combine your favorite berries for a vibrant topping that will dazzle at any gathering. -
Chocolate Ganache: Drizzle a rich chocolate ganache over the top for a decadent twist that adds indulgent flavor to each bite.
Simply melt chocolate with cream until smooth, and let it cool slightly before drizzling. -
Dairy-Free Delight: Use coconut cream and dairy-free cream cheese to create a creamy filling just as luscious as the original.
This variation guarantees everyone can indulge, regardless of dietary preferences! -
Zesty Lemon Infusion: Add lemon zest to the cheesecake mix for a bright, citrusy flair that perfectly complements the cherries.
It elevates the flavor profile and brings a refreshing tang that contrasts beautifully with sweetness. -
Nutty Crust: Introduce crushed nuts, like almonds or pecans, into the graham cracker crust for a pleasing crunch and extra flavor depth.
The nuttiness pairs wonderfully with the sweet and tangy filling! -
Spiced Pumpkin: Mix in pumpkin puree and pumpkin spice to your cheesecake batter for a cozy, autumn-inspired version.
This seasonal twist reminds you of fall gatherings with its warm, spiced flavor. -
Salted Caramel Swirl: Before baking, drizzle and swirl homemade salted caramel into the cheesecake batter for an irresistible treat.
The sweet-salty combination adds a gourmet touch that will leave everyone wanting more! -
Savory Option: For a unique twist, try using a cream cheese spread mixed with fresh herbs instead of a sweet filling—great for a savory dessert!
It offers a surprising flavor profile that’s bound to intrigue your taste buds!
Rich Cherry Cheesecake Bars Recipe FAQs
How do I select cherries for topping?
Absolutely! For the best flavor, choose ripe cherries that are firm and vibrant in color. Look for shiny skin without any dark spots or blemishes. If using canned cherries, opt for those packed in juice rather than syrup for a fresher taste.
How should I store leftover cheesecake bars?
Very! Store your Rich Cherry Cheesecake Bars in an airtight container in the refrigerator for up to 5 days. This will maintain their delicious flavor and creamy texture.
Can I freeze these cheesecake bars?
Yes! To freeze, wrap each bar tightly in plastic wrap and then in aluminum foil to prevent freezer burn. They can be kept frozen for up to 2 months. When ready to eat, simply place them in the refrigerator to thaw overnight.
What if my cheesecake bars crack while baking?
No worries! Cracking can happen if the cheesecake is baked too long or at too high a temperature. To avoid this, keep an eye on your bars—look for edges that are set while the center remains slightly jiggly. If cracks do occur, you can cover them with cherry topping for a seamless presentation.
Are there any dietary considerations for my pets?
Absolutely! Keep in mind that this dessert is not suitable for pets, especially dogs and cats, due to the cream cheese and sugar content. If you’re looking for a pet-friendly treat, consider making plain yogurt bites suitable for your furry friends instead.
Any tips for making this recipe gluten-free?
Yes! To make gluten-free Rich Cherry Cheesecake Bars, simply use gluten-free graham cracker crumbs or crushed gluten-free cookies for the crust. This way, you can still enjoy the delicious flavors without compromising on dietary needs.
Indulgent Rich Cherry Cheesecake Bars You Can't Resist
Equipment
- 9x13-inch baking dish
- Mixing bowl
- Electric mixer
Ingredients
For the Crust
- 1 1/2 cups Graham Cracker Crumbs or crushed digestive biscuits
- 1/4 cup Granulated Sugar or brown sugar for a caramel flavor
- 1/2 cup Unsalted Butter melted, or substitute with coconut oil for dairy-free
For the Filling
- 16 oz Cream Cheese softened, or vegan cream cheese for plant-based
- 1/2 cup Sour Cream or Greek yogurt for a lighter option
- 1 teaspoon Vanilla Extract or vanilla bean paste for more flavor
- 3 large Eggs or flaxseed meal mixed with water for a vegan option
For the Topping
- 1 can Cherry Pie Filling or fresh cherries, pitted and halved
Instructions
Basic Steps
- Preheat the oven to 325°F (160°C).
- Grease or line a 9x13-inch baking dish with parchment paper.
- Mix the graham cracker crumbs, granulated sugar, and melted butter until combined.
- Press the mixture into the bottom of the baking dish to form an even layer.
- Bake the crust for about 10 minutes until lightly golden. Let cool slightly.
- Whip the softened cream cheese until smooth using an electric mixer.
- Incorporate the granulated sugar and vanilla extract until well combined.
- Add the eggs one at a time, mixing thoroughly after each addition, then fold in the sour cream.
- Pour the cheesecake mixture over the cooled crust, spreading it evenly.
- Bake the bars for 25-30 minutes, until the edges are set and the center is slightly jiggly.
- Cool at room temperature for 30 minutes, then refrigerate for at least 2 hours to set.
- Top with cherry pie filling or fresh cherries.
- Cut into squares or bars and serve chilled.
Notes
Nutrition
Leave a Comment